
I use 1/2" MDF (Medium Density Firber) boards for all of my game boards. These can be obtained from most DIY stores and are most commonly found in 2x4' pieces, which is exactly what I use. You could also use 2x2' sections (or whatever other dimensions you like - most DIY centers will even cut the boards for you), but I have found the modeling options to be better with the larger boards. Of course, they are harder to store, but I am lucky in the fact that I have a permanent room devoted to my hobby where I can stack such things.
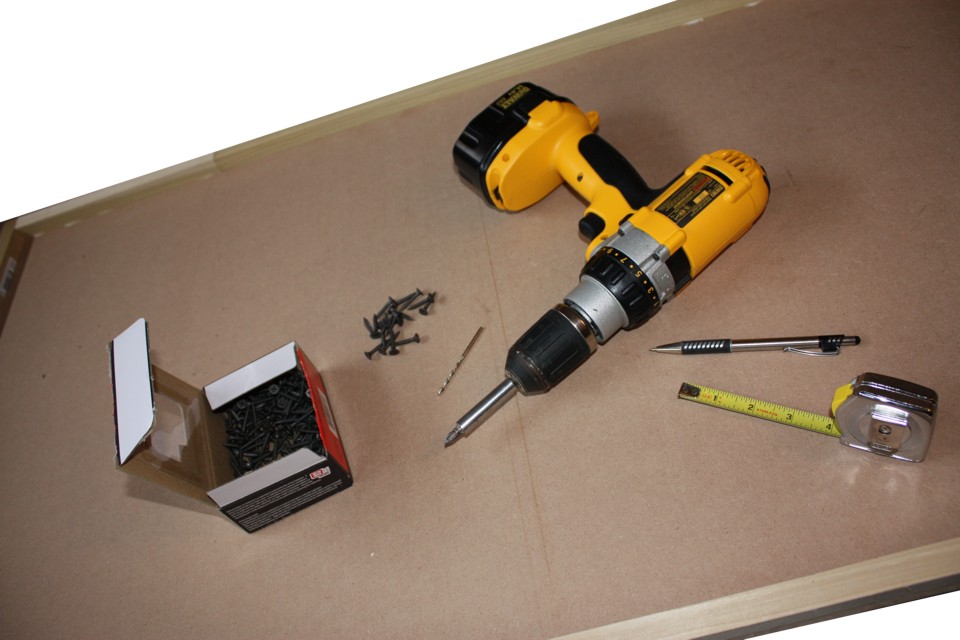
MDF is more resistant to warping than plywood which is one of the reasons I choose it. However, to make it even more resistant, and to protect the layer of foam that I intend to add on top, I frame all of my boards with 3/4" square battens. These are carefully glued to the boards with Liquid Nails and then to make them stronger, I flip the boards over and secure the battens with 1" wood screws. It's a good idea to predrill holes slightly smaller than the diameter of the screws to reduce the chance of splitting the battens.
You can always skip the framing step if you don't transport your boards and just glue a layer of foam to the board, but the wooden frame makes them extremely durable and adds a very professional look to the finished piece. I think the extra effort is worth the results.


I managed to frame out all six boards in an afternoon. To see the full details of my construction process and see where we'll end up you can check out the tutorial on my main site. I'll duplicate some of the info here and add new photos of this project as I go. If there are any questions, I'll be happy to answer them here!
I will look forward to these posts, I have tried to duplicate your efforts in the past, but they just do not look as good as yours.
ReplyDeleteJohn
I'll watch with great interest.
ReplyDeleteSalute
von Peter himself
By the way Clarence, I will especially be interested in the loose hills, I have a ridge built in, but have never been sure how to go about hills. I am also considering shifting from loose forests pieces to sticking the trees (woodland scenics) directly into the terrain by punching small holes. The holes seem to disappear when you remove the trees.
ReplyDeleteJohn
Hi Clarence, I emailed you a little while ago about your terrain. Looking forward to what you come up with here. As for my own terrain, budgetry constraints have stopped progress for the time being.
ReplyDeleteJohn... Actually my loose hills are already finished so no step by step on those I'm afraid. I simply finished off a set of GW plastic hills to match my terrain. I do have a WIP sequence of the construction of a Spanish abbey (seen on page 69 of REPUBLIC TO EMPIRE) that rests atop a scratch-built hill and I'll post some pics when I get that far.
ReplyDeleteRichard... Yes, I'm afraid my methods aren't inexpensive! These six boards set me back around $50 each and that doesn't include the cost of the paint which I already have, not to mention all of the tools, brushes, etc. if you're coming at this sort of thing for the first time.
Hi Clarence,
ReplyDeleteI actually read an article in Battlesgames about the Spanish Abbey, very nice. I was curious are you happy with the GW hills, do you have both types?
John
I like the GW hills. I have two sets of the modular hills, permanently glued together into one 'deep' hill (around 16" wide and 15" deep) and one 'long' hill (30" wide and 8" deep), both of which have a flat edge that anchors them to the table edge. I also have two of the smaller 'oval' hills (about 10" wide and 15" long). All of them are finished to match my game tables.
ReplyDeleteHI Clarence,
ReplyDeleteno this isn't the first time, just been a while since I last built some terrain, that and the financial obligations of getting married.
Hi
ReplyDeleteI'm a fan of your web site mainly for your building terrain system (and your painting too!)
Thanks for sharing so useful methods
Regards
rafa
Can't wait to see this come to life. I read your other article and as soon as I secure the $ I will follow yours too. Best terrain on the web! Thanks for sharing
ReplyDeleteI am confused about how you cover the wood batten part of the frame sothat the terrain surface matches up without a gap. Do you add a second layer of foam that is 3/4 inch wider to cover the batten?
ReplyDelete